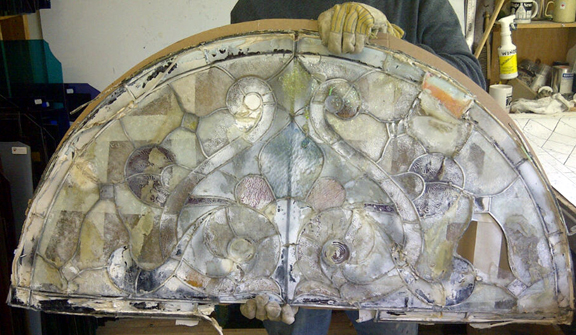
Every once in a while a project comes along that makes you realize you haven’t seen everything. The window picture to the right was removed by our installer and brought to the studio for the needed work.What you see on the glass is a combination of white paint, clear silicone sealant, and epoxy resin. The cross hatch pattern on the back is masking tape which was
applied in order to hold the window together when it was removed from its sash.
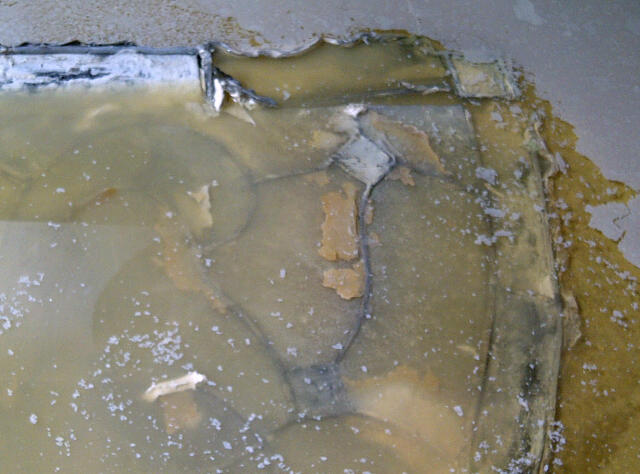
The detail to the left shows the sealants being removed from the glass over a period of a week or so. Fortunately, it was possible to remove the glue, sealant, and paint almost completely from the glass at this stage. The next task was to disassemble the panel and finish cleaning the residue from the glass and replace broken or missing pieces. We keep a stock of as many types and colours of old glass as possible, so that we can make replacement pieces match very closely if not exactly.
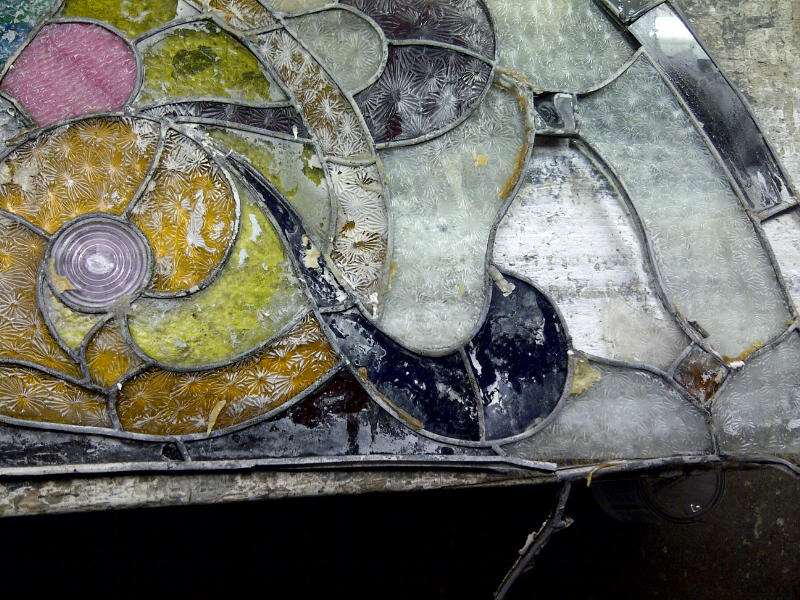
Here we are getting close to the original window. A little final cleaning, and some new pieces cut. Then it’s on to re-assembly.
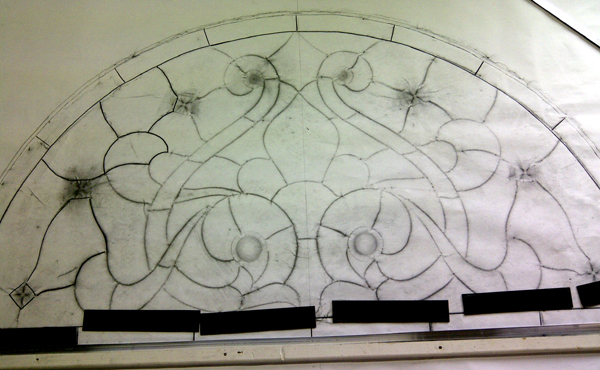
Backtracking a bit, before anything else was done to the window, a rubbing was taken of the lead pattern of the window. This will serve as a road map for re-assemblycarbon rubbing of leadwork. It’s final outer perimeter is determined by a template which was cut and fitted to the panel’s opening at the time of removal, insuring a proper fit in the sash during re-installation.
Each piece of glass is set into place according to the rubbing,and a section of lead came or channel, is cut and fitted over the exposed edge of the glass in order to accept the next piece of glass. And so on…
Once every piece has been fitted, every lead joint will be soldered to the adjacent piece. Once finished, the panel will be turned over and the process repeated. The panel is then nearly ready for the final step in the process which is to rub a thick grout compound under the flanges of the lead in order to both strengthen, and weather proof. The excess grout is cleaned up with sawdust and powdered chalk.
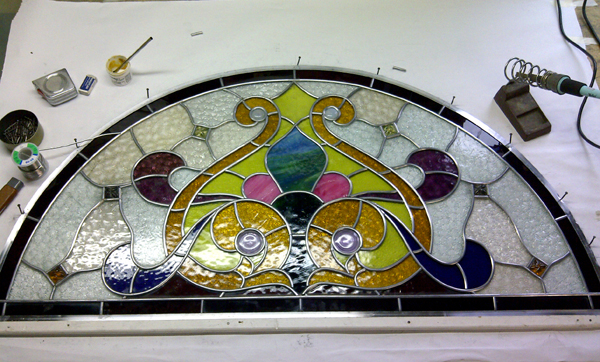

Below is the finished panel ready to be re-installed in the window from which it was removed. Fortunately, most panels which come into our shop for restoration or repair haven’t been so carelessly treated. This one is a close second to a window which fell apart, was put in a cardboard box in an attic for many years, and evidently served as a bird nest before it was brought to us to be rebuilt.